Enhance your astrophotos by understanding the significance of image processing and learning how to apply it effectively.
Astrophotography, the art of capturing the night sky, requires a blend of technical skill and creative vision. One crucial aspect of this process is image processing, which plays a vital role in enhancing the captured images and bringing out the hidden details. This article will explore some key techniques for nightscapes, deep-sky imaging, and planetary photography.
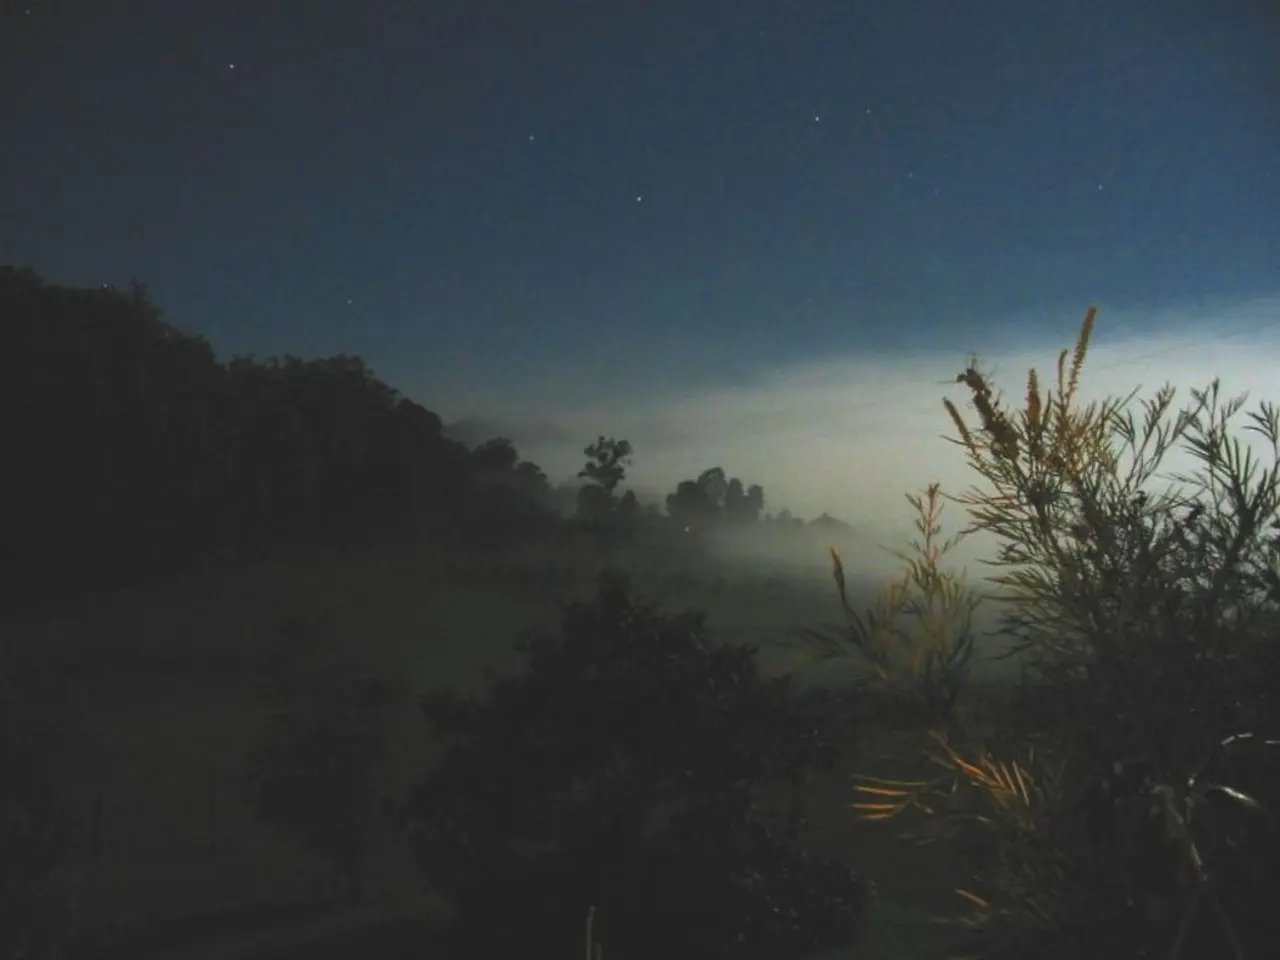
Nightscapes and Milky Way Astrophotography
Nightscape astrophotography, often featuring the Milky Way, requires a delicate approach to noise reduction, stacking, local contrast enhancement, and selective editing.
- Noise Reduction: Carefully use noise reduction tools to minimise digital noise from high ISO settings without smudging stars.
- Stacking Multiple Exposures: Combine several exposures of the same scene using software like Sequator or DeepSkyStacker to reduce random noise while preserving star points' clarity.
- Local Contrast and Sharpening: Boost local contrast and apply light sharpening selectively to enhance star detail without affecting the overall sky, maintaining a natural look.
- Selective Editing: Utilise software with selective edit capabilities, such as Luminar Neo, to adjust shadows, exposure blending, and clarity only on specific areas like the Milky Way or foreground.
Deep-Sky Imaging (Nebulae, Galaxies)
Deep-sky imaging, which includes nebulae and galaxies, demands a more sophisticated approach, involving calibration frames, long exposure stacking, starless layer processing, and careful histogram and colour management.
- Calibration Frames: Apply dark, flat, and bias frames to correct sensor and optical system imperfections before stacking.
- Long Exposure Stacking: Stack tens or hundreds of shorter sub-exposures to improve signal-to-noise ratio, revealing faint nebula detail.
- Starless Layer Processing: Create a starless version of the image using tools like StarNet++ to process and enhance the nebula or galaxy separately, then recombine with stars for better control of star size and colour preservation.
- Careful Histogram and Colour Management: Keep histograms visible to monitor tonal balance and colour accuracy throughout processing.
Planetary Photography
Planetary photography, focusing on planets or the Moon, involves video capture, frame selection, stacking with specialized software, wavelet sharpening, and post-stack processing.
- Video Capture and Frame Selection: Record high-frame-rate videos of planets or the Moon and select the sharpest frames for stacking.
- Frame Stacking with Specialized Software: Use Autostakkert or Registax to align and stack the best frames, increasing detail and reducing atmospheric distortion.
- Wavelet Sharpening: Apply wavelet filters in Registax or similar software to enhance fine planetary features without overprocessing.
- Post-Stack Processing: Perform further edits in Photoshop or similar tools for colour correction, contrast, and final sharpen adjustments.
By leveraging the power of stacking, selective edits, and subject-specific processing techniques, you can achieve impressive results in nightscapes, planetary shots, and deep-sky images. Combining dedicated astrophotography tools like AutoStakkert!, DeepSkyStacker, GIMP, Image Composition Editor, RegiStax, Sequator, Startrails, and general image editors like Photoshop, Lightroom, and Luminar allows you to push the boundaries of what's possible in astrophotography.
For more targeted guidance, including specific software recommendations and detailed step-by-step workflows per subject, feel free to ask!
[1] Luminar Neo: https://skylum.com/luminarneo [2] RegiStax: https://www.astroart.org/registax/ [3] DeepSkyStacker: https://deepskystacker.de/ [4] Sequator: http://www.sequator-astro.com/ [5] AutoStakkert!: https://www.autostakkert.com/ [6] Image Composition Editor (ICE): https://research.microsoft.com/en-us/projects/ice/ [7] Startrails: https://www.startrails.de/ [8] StarNet++: https://www.astroart.org/starnetpp/ [9] Adobe Photoshop: https://www.adobe.com/uk/products/photoshop.html [10] Adobe Lightroom: https://www.adobe.com/uk/products/lightroom.html [11] GIMP: https://www.gimp.org/
This article is intended to provide a broad overview of astrophotography techniques. For more in-depth knowledge, consider consulting resources like books, online tutorials, and forums dedicated to astrophotography.
- Astrophotography Gadgets: To capture stunning images of the night sky, astrophotographers rely on gadgets such as telescopes for magnified views, DSLR or mirrorless cameras for high-quality images, and dedicated astrophotography software like AutoStakkert!, DeepSkyStacker, and Sequator for processing.
- Nebulae and Galaxies with Telescopes: With the aid of a telescope, an astrophotographer can focus on distant nebulae and galaxies, using calibration frames, long exposure stacking, starless layer processing, and careful histogram and colour management for image enhancement.
- Milky Way with Nightscape Techniques: Enhancing Milky Way astrophotography requires a delicate approach to noise reduction, stacking multiple exposures, local contrast and sharpening, and selective editing to bring out striking details in the nightscape.
- Planetary Photography with Video Capture: For planetary photography, video capture and frame selection, frame stacking with specialized software, wavelet sharpening, and post-stack processing are essential techniques to reveal hidden details and make impressive planetary images.
- Technology and Image Processing in Astronomy: Advanced technology plays a crucial role in modern astrophotography, enabling techniques such as image processing, which greatly enhances captured images by bringing out hidden details, and gadgets like telescopes that allow us to explore the universe beyond our immediate sight.

